10 Years of Advocacy as a Google Developer Expert

I was just renewed for my 10th year as a Google Developer Expert (GDE) for Android, and I want to reflect on my experience in the program. Being a GDE is incredibly impactful to my life and I am super grateful to be involved.

Excited for my 10th year in the gde program

During my decade in the program, the landscape of Android development has changed dramatically. From the early days of fragmentation to the rise of Kotlin and Jetpack, each new chapter brought new challenges and opportunities for advocacy. From the start, I knew that being a GDE wasn’t just about staying up to date on the latest technologies; it was about building bridges, fostering communities, championing the voices of developers and inspiring others to grow their own skills and careers.

ME IN THE BLUE HOODIE WITH A LOT OF VERY YOUNG ANDROID GDE’S IN 2014

Helping the Developer Community Thrive

As a successful GDE, I set out to break down complex concepts into something that is accessible to everyone. Over that time, my inspiration led me to write blog posts/tutorials, create videos, speak at conferences and even write a book. I continue to embrace every opportunity to build bridges between the technical intricacies of technology and the minds of the developer community.

The Android community is incredibly strong. I still actively participate in online forums, organize local developer groups, and mentor aspiring developers. I continue to collaborate directly with the engineering and product teams at Google, and use these opportunities to champion the voice of the common developer. 

Seeing the community grow, learn from each other, and build amazing things together has truly been the most rewarding aspect of my GDE journey.
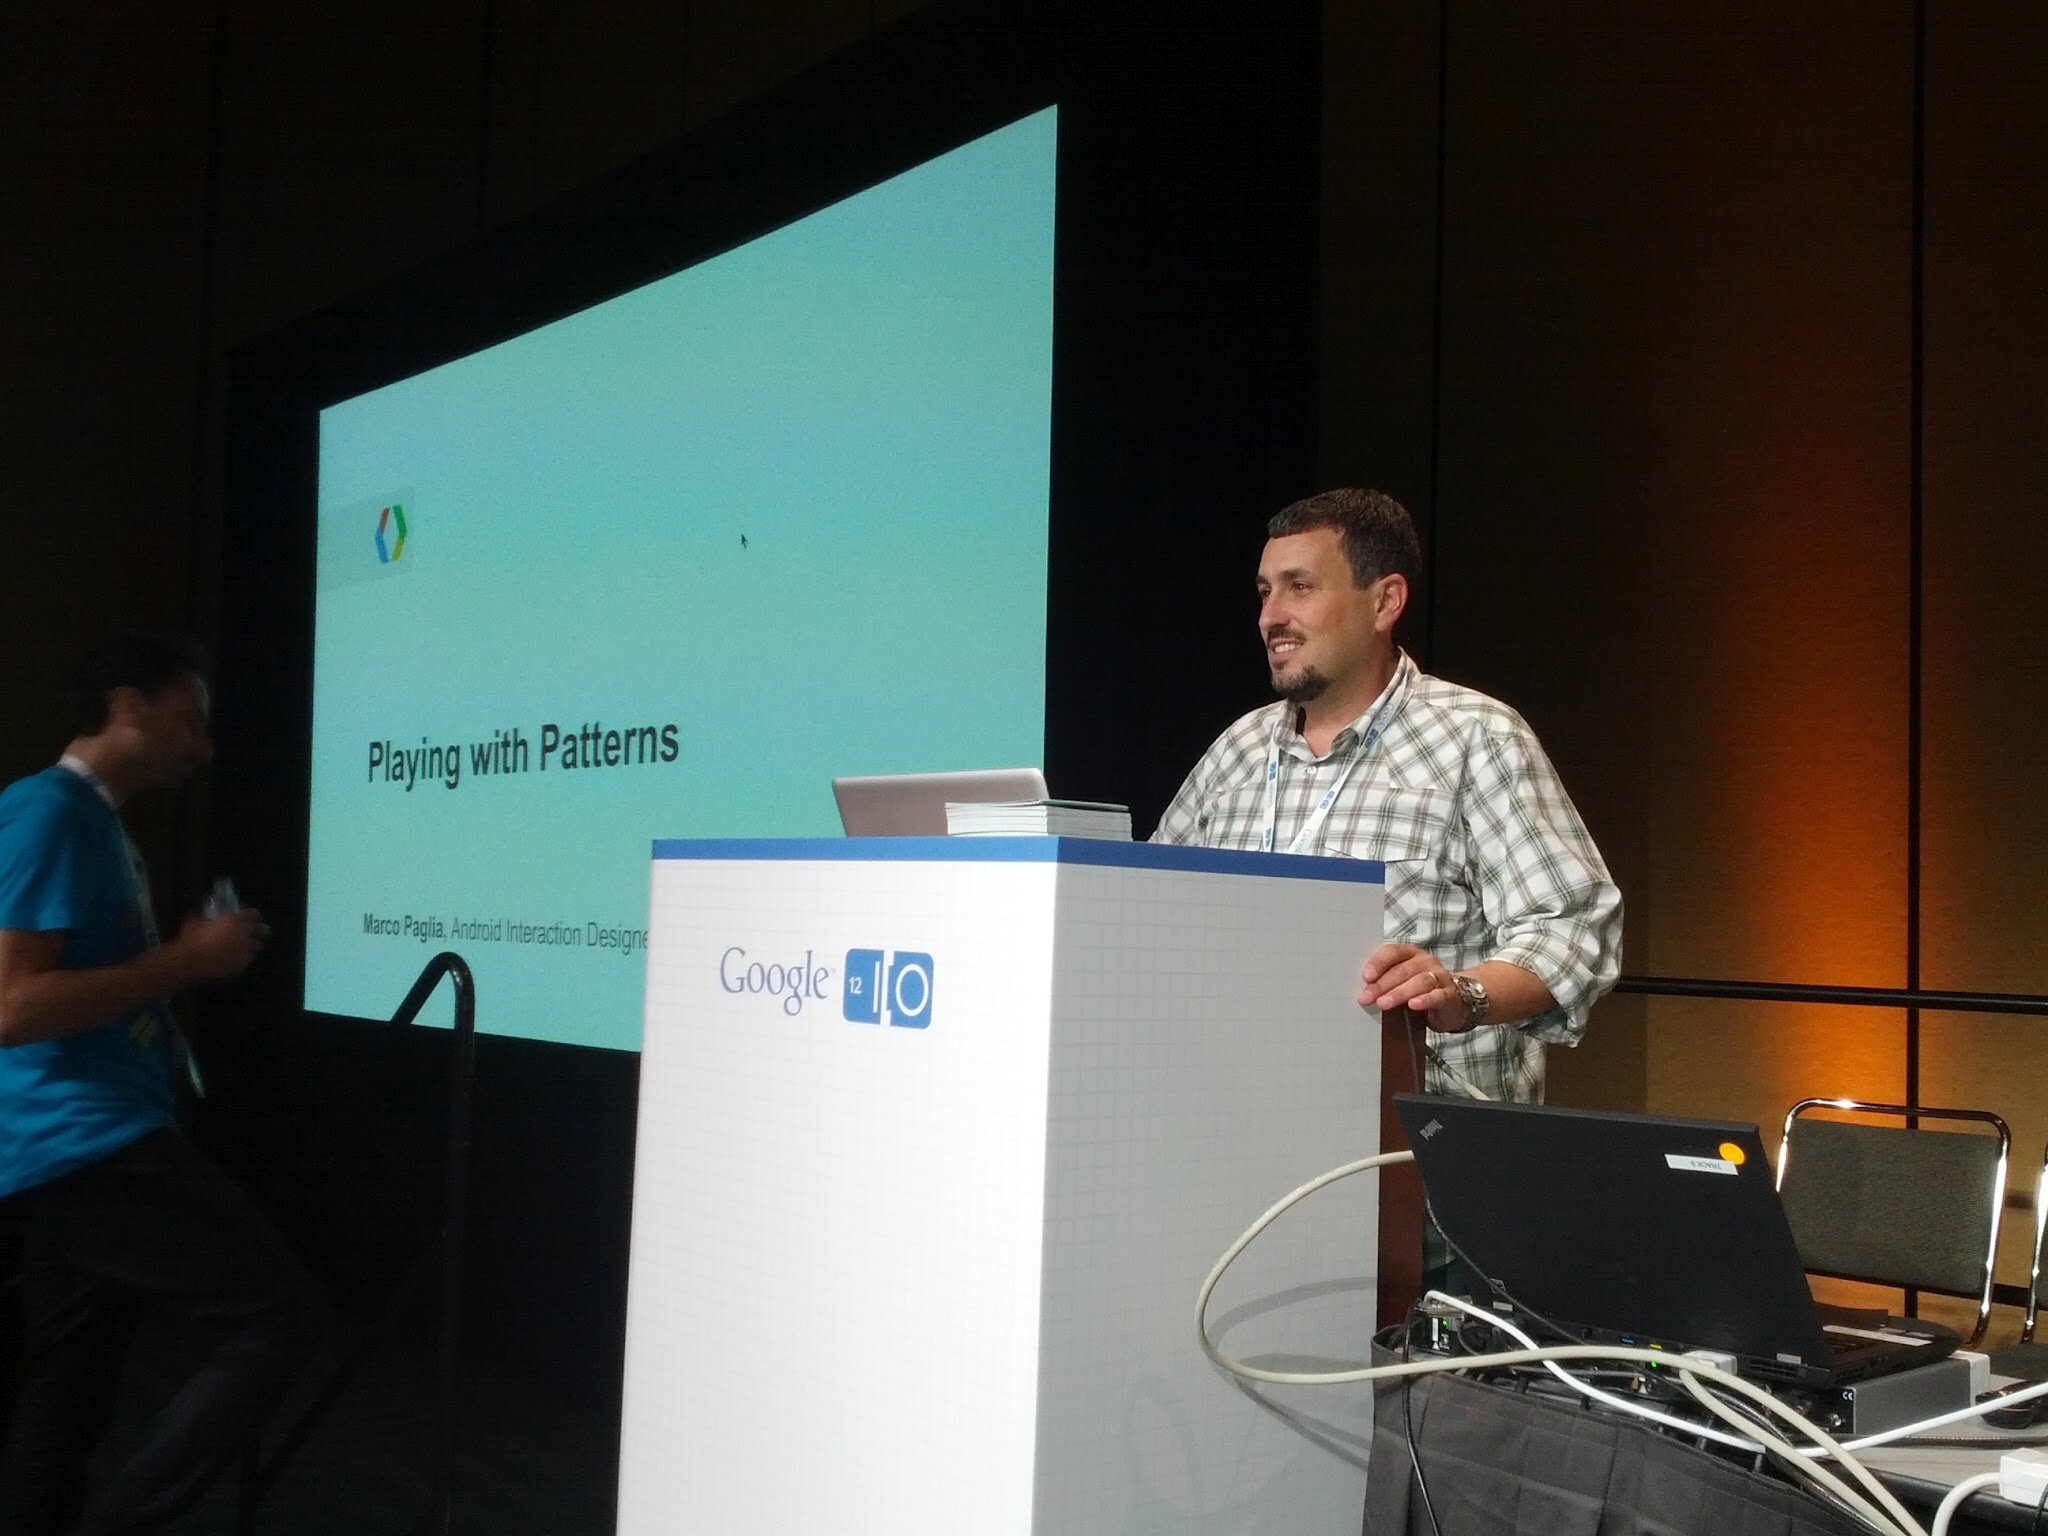
Speaking

SPEAKING at GDE Worldwide Summit (google conference center\sunnyvale, ca)

Google has never limited my topics for presentations or questioned my content, allowing me full freedom to share what I know. I feel so fortunate that many organizers are interested in the subjects I propose, as I have been able to present on a variety of topics including:

  • Android Developer Tools

  • Android Architecture and Foundations

  • User Interface Design (Material, Animation, Design Systems, and much more)

  • Effective Remote Teamwork

  • Generative AI

  • Human Centered Machine Learning

  • Software Product Management

Mentoring

I have enjoyed mentoring students, corporate partners, and startup founders through my involvement with the the Google Developer Student Clubs, the Google Startup Accelerator, and tons of hackathons. This role is rewarding, because I really enjoy helping teams create products that are great for the user. I am particularly proud of the multi-part workshop I co-created with Bryce Howitson (“The Care & Feeding of Digital Products”) that students all over the world learned from. It is wonderful to be able to create material on that kind of scale.

Gratitude to the GDE Program

While I have a ton of reasons to be thankful to the GDE program, I’m most thankful for the deep friendships I’ve been able to make.

I have made many close friends in this program, and established relationships with people that will last a lifetime. The Android community is small and tight-knit. Feeling “at home” in that world has been really great for my social and professional network.

Android gdes 2016 - the group continues to grow

My closet is full of Google/GDE clothing and merchandise. I generally don’t wear a lot of logo gear, but I continue to be proud to wear these items. It is always nice when a box from Google shows up on my doorstep, and I am lucky and honored to be on their gift list. 

Thank you video to the Google Developer Experts program for all the lovely gifts through 10 years in the program.

Over the past decade, Google has very generously supplied resources (💰🎤 🍕) to help us organize events. They sponsored Phoenix Kotlin Everywhere and each of IoTDevFest events we planned, which likely would not have been successful without their support.

The GDE travel program ✈︎ has enabled me to speak at events all over the world. Knowing that this investment is available to support my ability to empower the developer community has always filled me with gratitude. It’s an experience that I hope more GDEs are able to benefit from, and I’ve always made sure to use these financial resources wisely so that it can continue to be available for future generations of GDEs.

How to Become a GDE

For anyone wondering how to get into the GDE program, the answer is simple, help the community in whatever way inspires you.
I was doing all the things to help the community before I was a GDE, and eventually I was recognized for my efforts.

Personal Highlights

This post wouldn’t be complete if I didn’t mention some personal highlights.

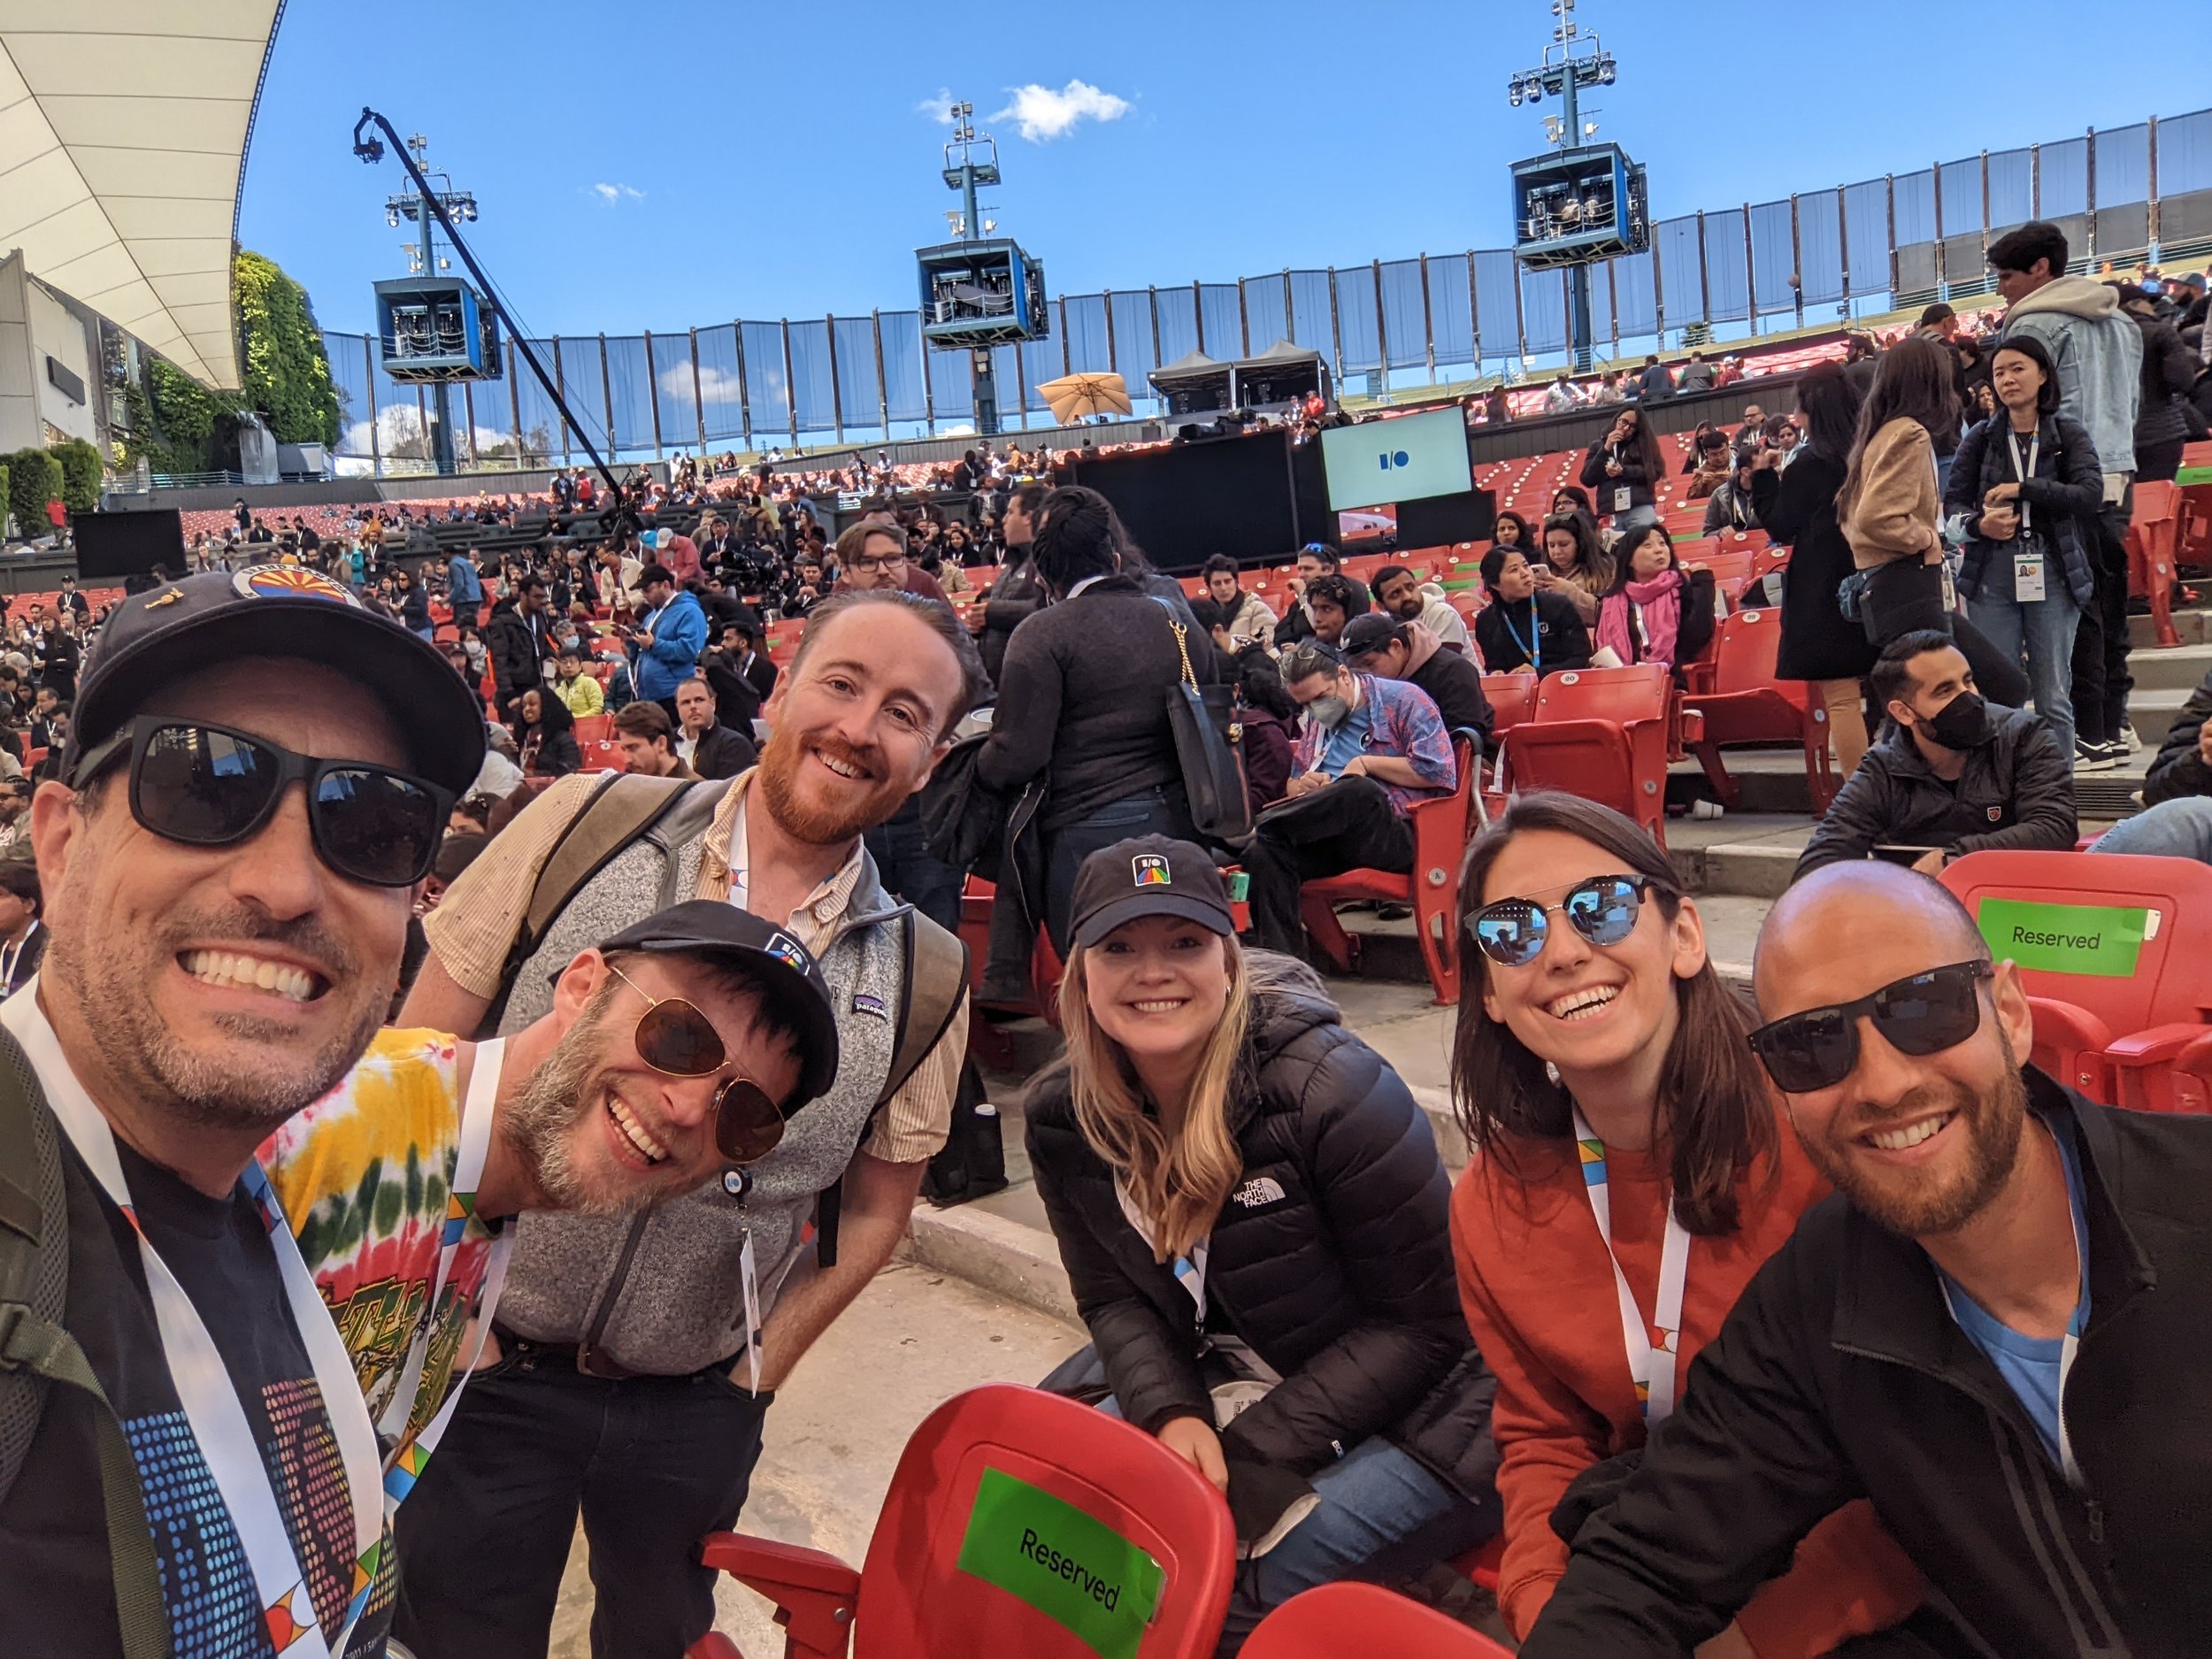
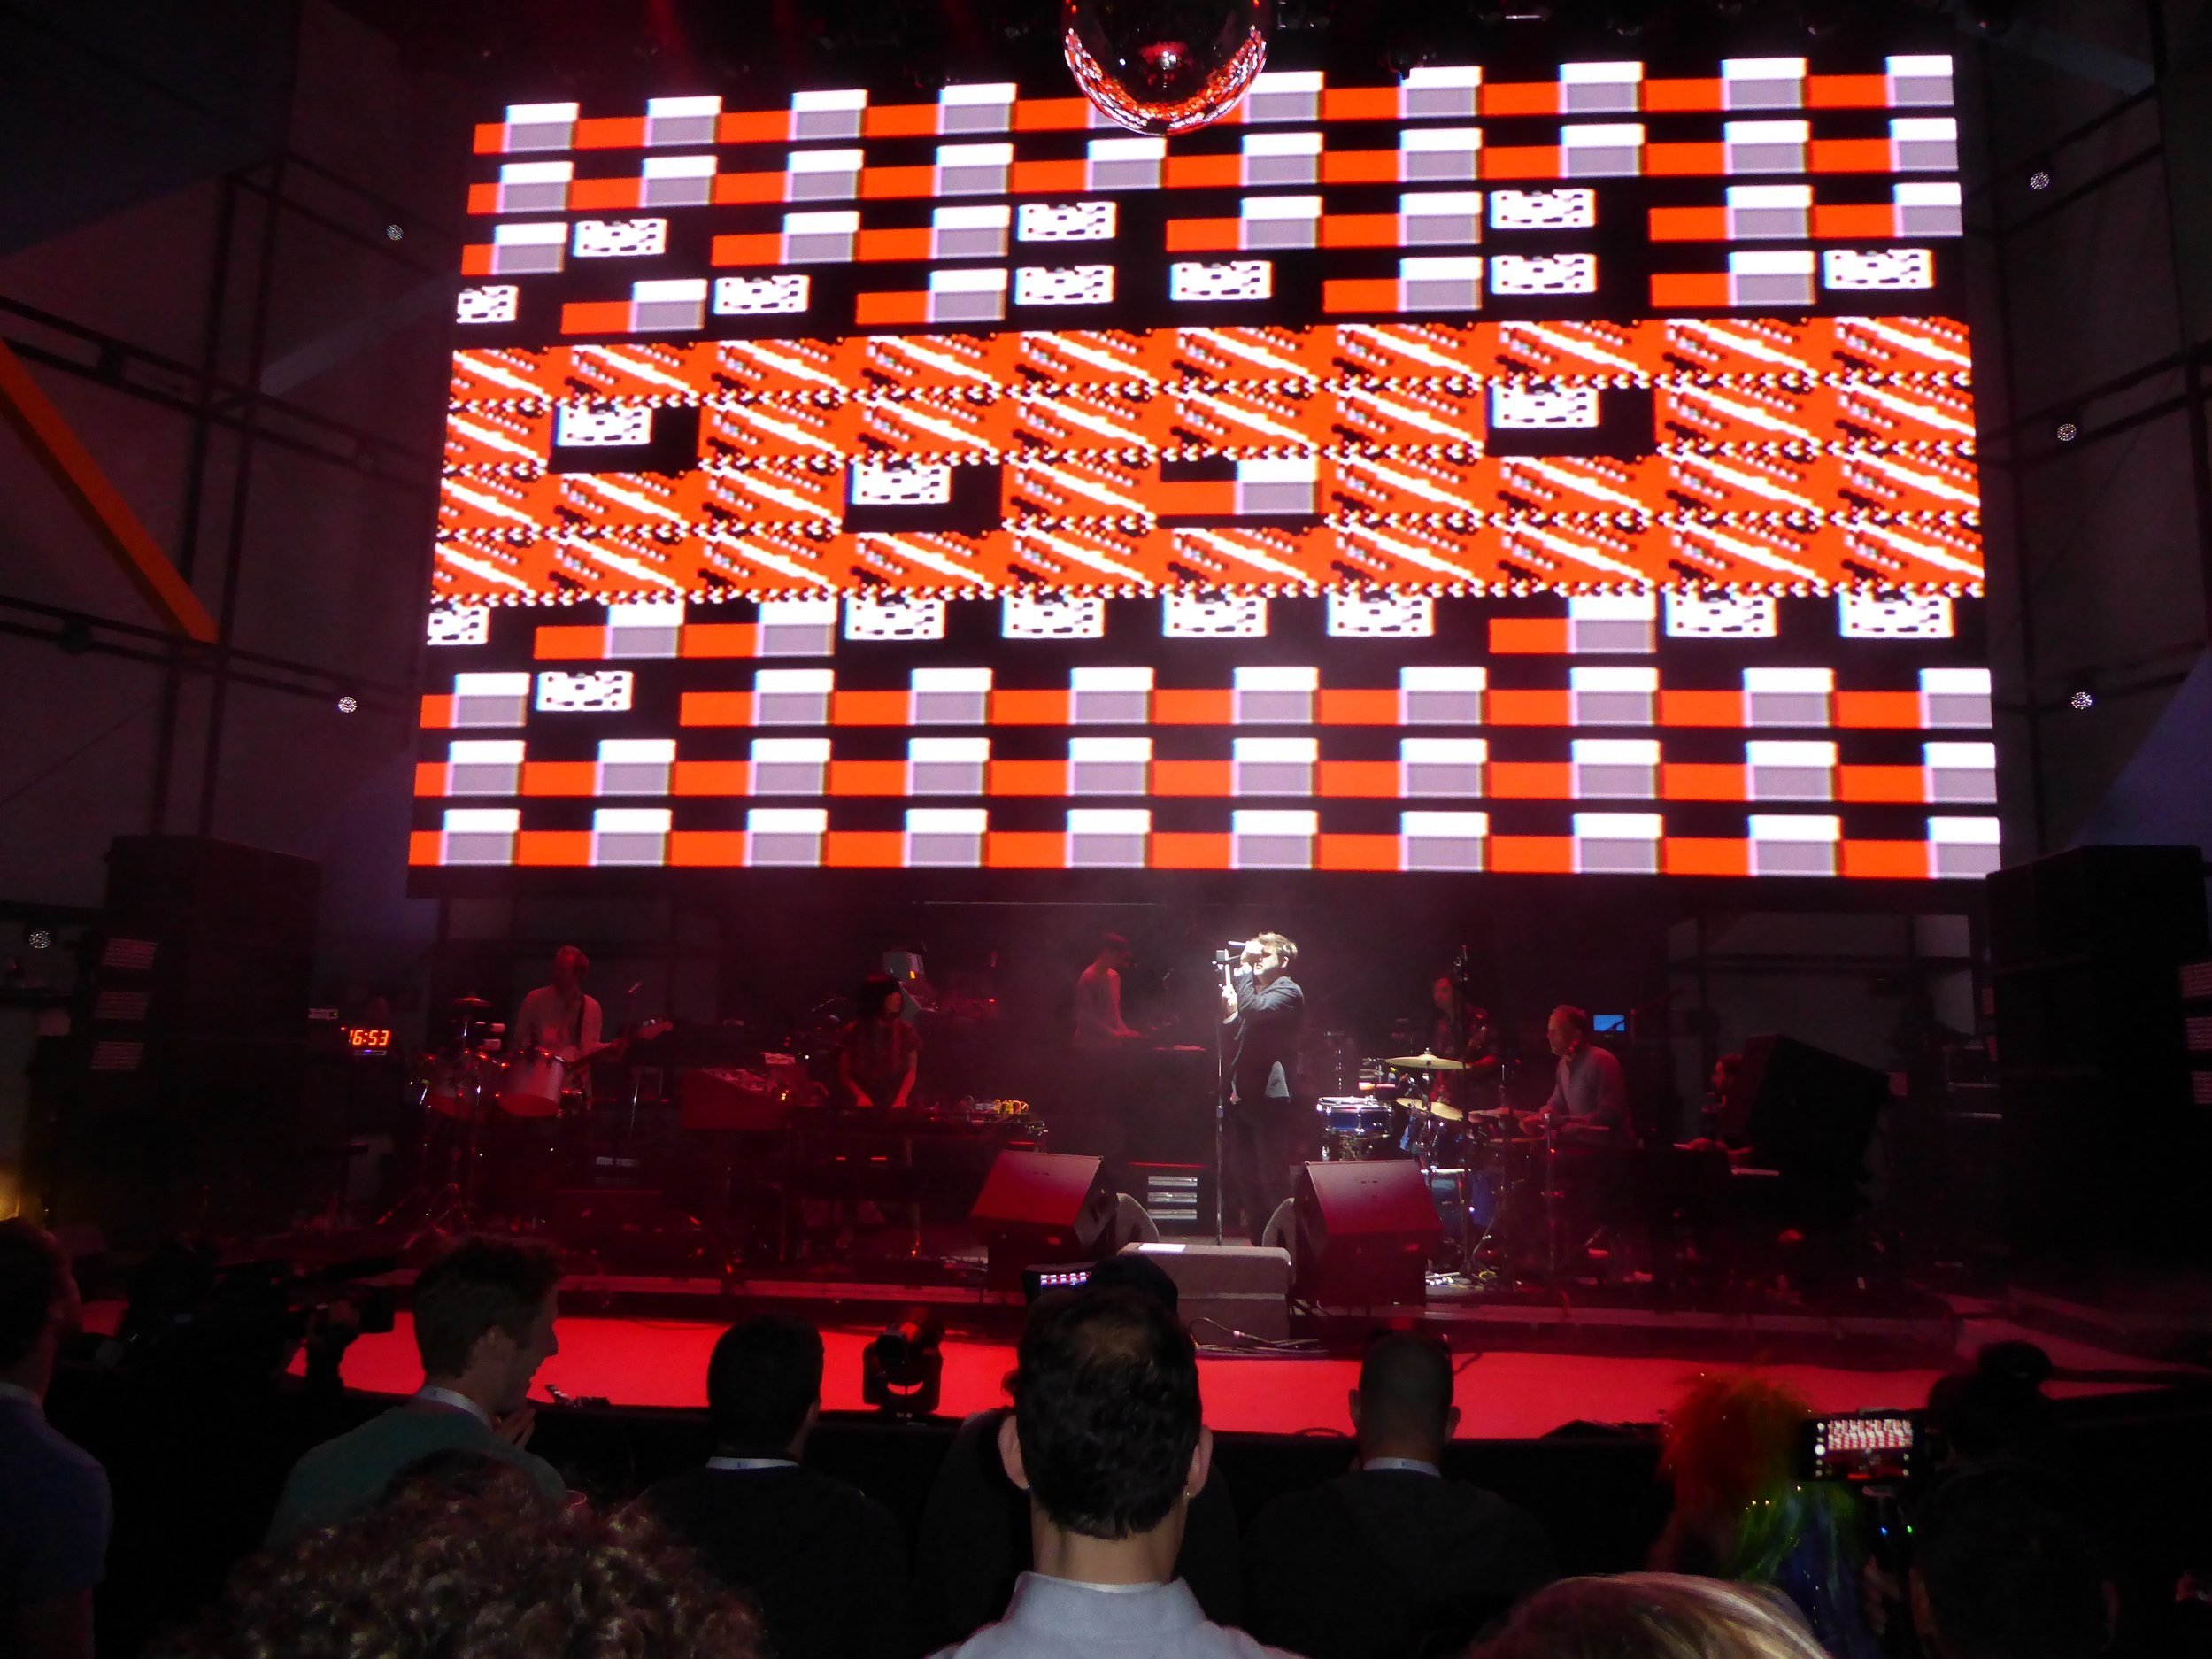
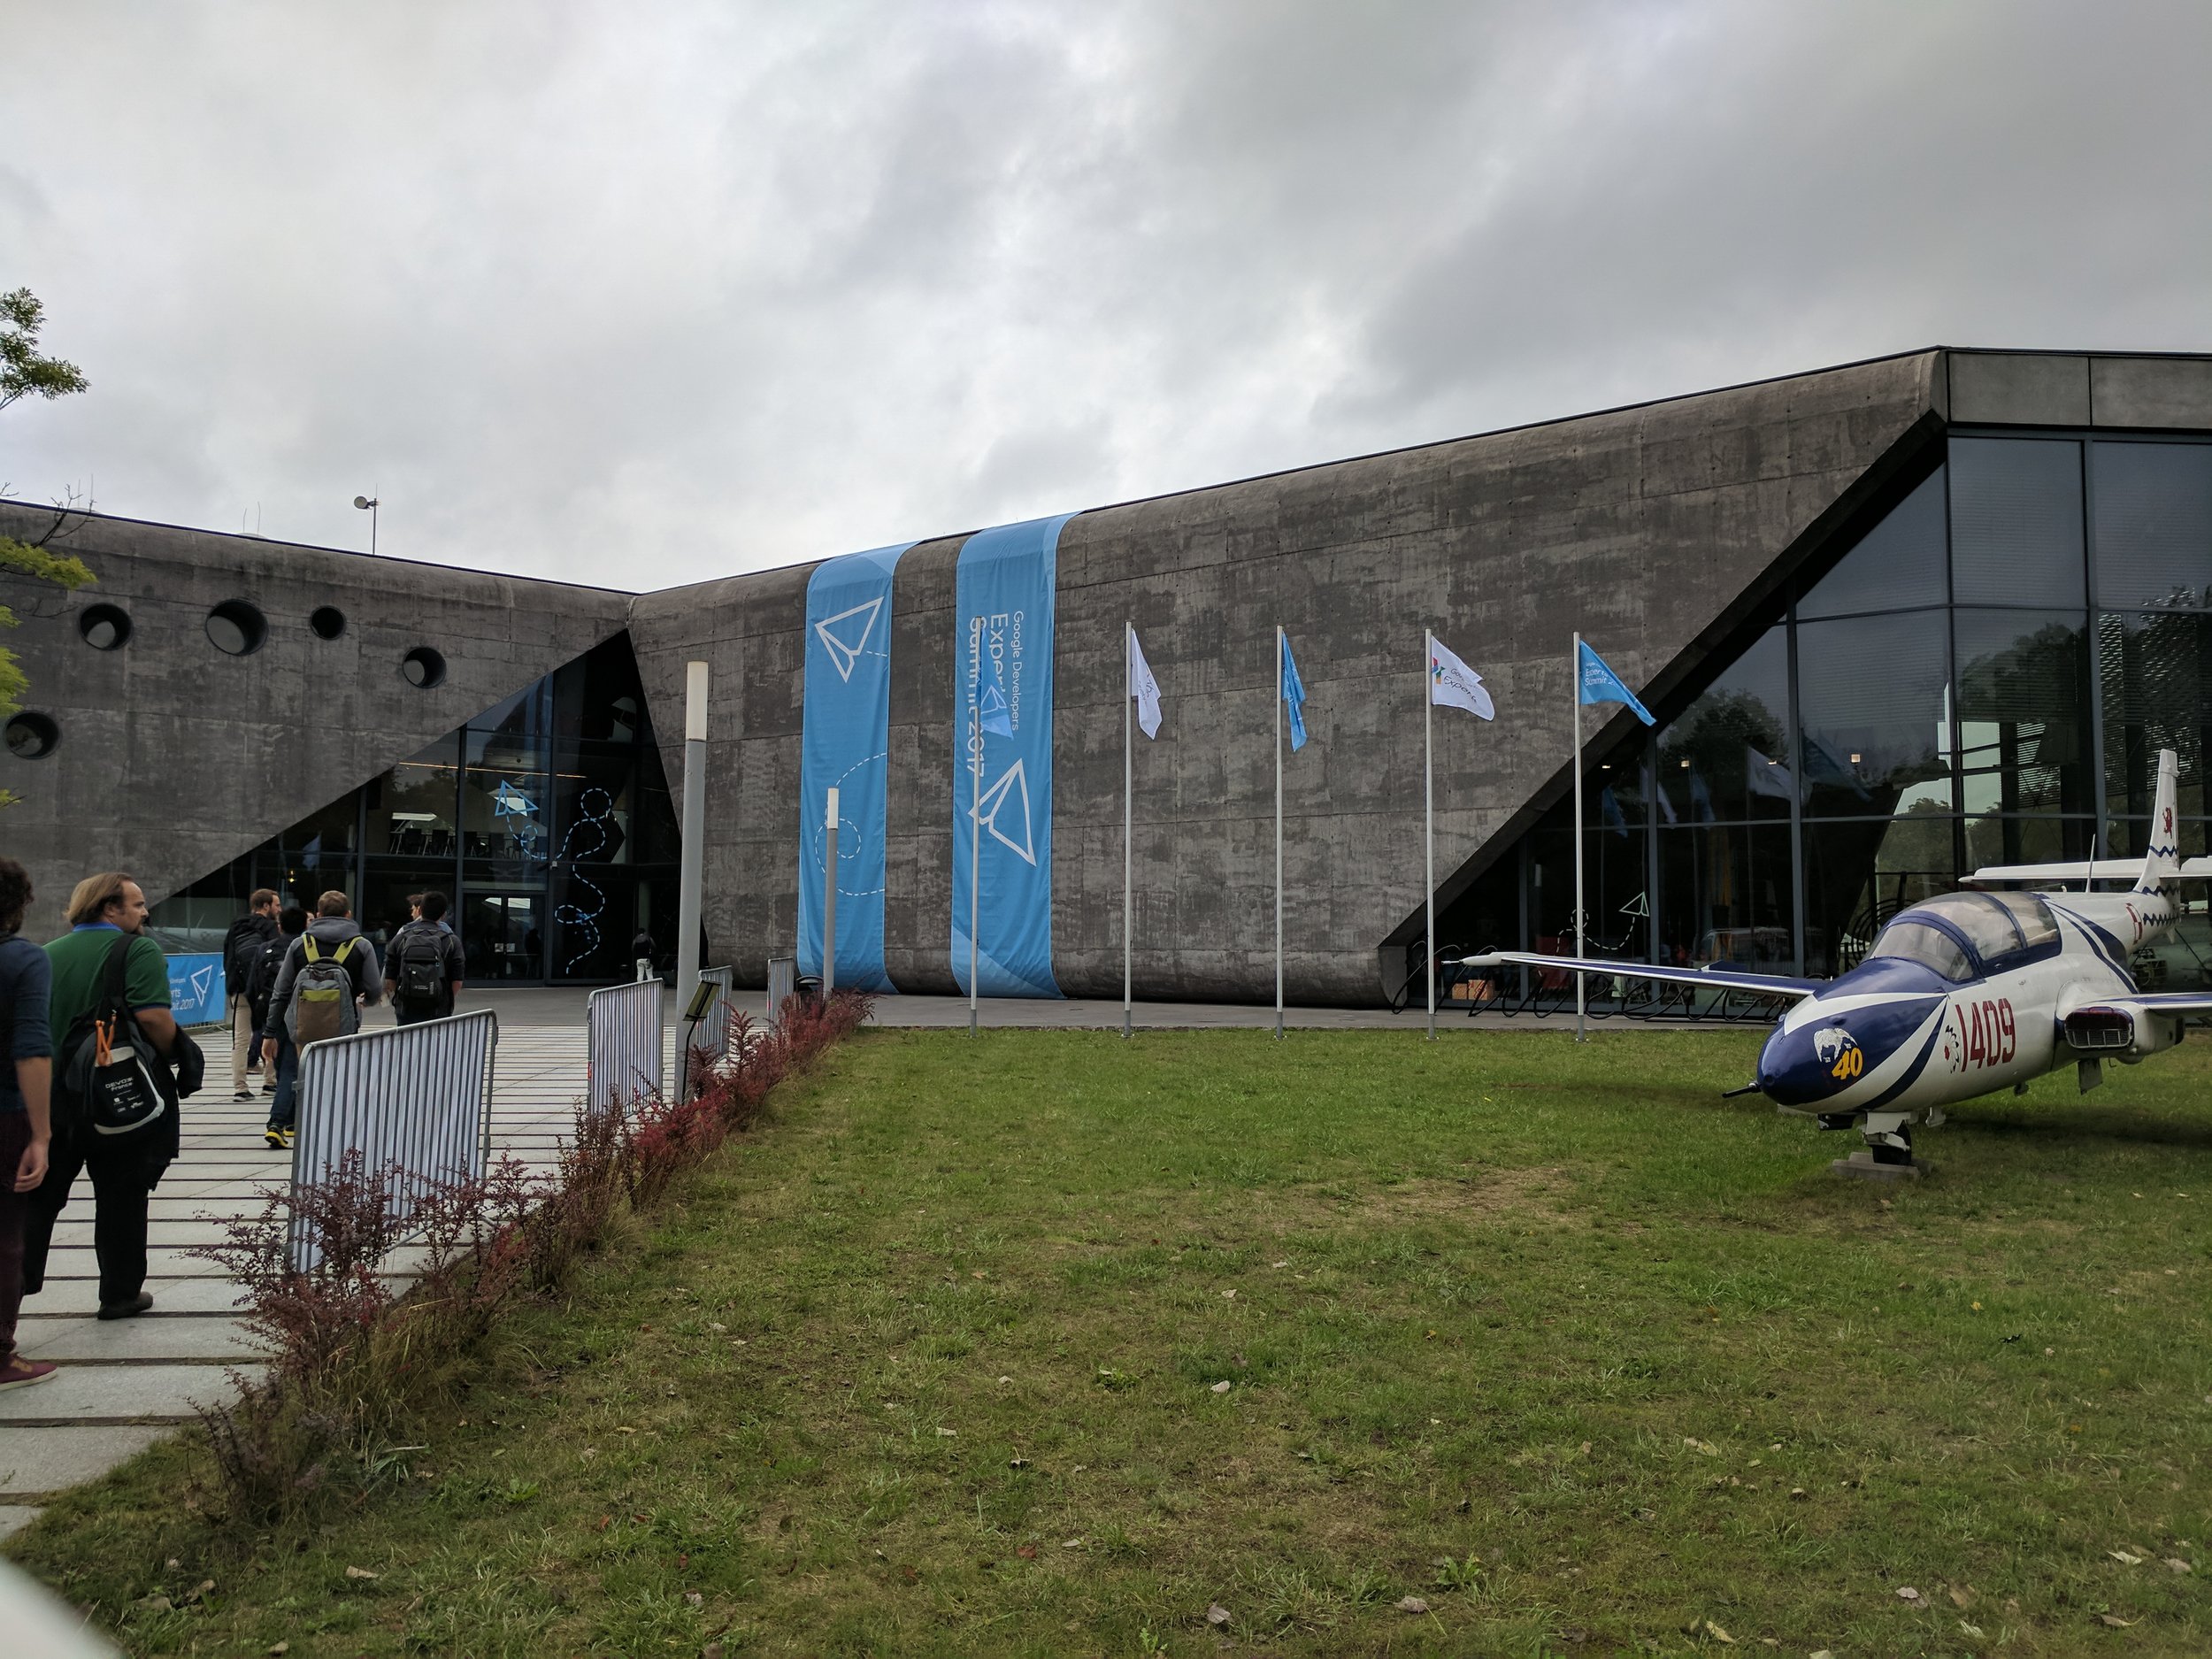
My ability to access conferences always been wonderful. I was fortunate to speak at and attend almost every Google IO throughout the years. I was invited to many other developer conferences, including a memorable GDE summit in Krakow Poland. I enjoyed being part of the keynotes, meeting experts, chatting about tech, attending presentations, and enjoying after hours events (🎹 🥁 🎷 ).

At IO15, Google Developers setup a book signing for authors in the program. All of the books we gave away were purchased by the Google Developers program. When we ran out of books (the line became way longer than any of us expected!), they took the names of everyone still waiting and sent them copies of the book after the conference (😍 🙏).

Book signing at google IO15

Conclusion

As I look back on these 10 years, I’m filled with gratitude for the incredible experiences and the amazing people I’ve met along the way. The journey of a GDE is one of continuous learning, growth, and connection. It’s been about giving back to the community that has given me so much.

Looking ahead, I’m excited to see what the next chapter holds for Android development and the role of GDE’s in shaping its future. I anticipate big impacts from Generative AI on the mobile form factor, and I will closely watch how Google is shifts their focus to this emerging technology.

I would love to thank every individual that has impacted my time as a GDE, but that list is too long (and would never be complete). I could not have done this without the community, and I sincerely thank everyone who empowers people to share content.

Special thanks to Lori Wolfson and Mala Janus for their feedback helping me create this post (they were way better than ChatGPT).

1ST WORLDWIDE GDE SUMMIT IN MOUNTAIN VIEW, CA — 2014

First Impressions of Android’s new ConstraintLayout

This article was originally published to Medium on May 31, 2016 · 4 min read

After Google IO, the Android GDE team got together to gather our thoughts about the most significant announcements from the conference. This is a summary of our thoughts about the new ConstraintLayout.

Some of the Andoid GDEs at post-IO gathering

Some of the Andoid GDEs at post-IO gathering

At IO 2016, one of the more exciting announcements (especially for UI focused developers) was a new layout container and tool named ConstraintLayout (CL).

It’s early days for this tool. It is currently only available from the Canary channel of Android Studio. We expect it to mature quickly (they have already pushed their first update within the first week of release). We expect that eventually this layout type will be the default used for all top-level interfaces.

ConstraintLayout View Type

High-level Constraint Layout basic concepts

High-level Constraint Layout basic concepts

On a basic level, the new CL is just another simple XML layout type. It is not much different then other layouts you are probably already using (like RelativeLayout or LinearLayout). In fact, the CL can be used just like any other layout — it can be nested into other layouts, and even be used back to API 9. It is possible to view and edit the XML, but when we asked Googlers about this, they all answered: “You can, but why would you want to?”. This is primarily designed as a visually oriented tool.

The new layout is based on Constraints. These describe relationships between your views (or the screen), in a responsive nature. These attributes are very similar to the ones used with RelativeLayout (such as: android:layout_alignParentBottom=”true”).

If CL was just another layout container, there wouldn’t be too much to be excited about. But, CL is much more then just another layout type. It is an all new layout container designed to help developers create complex layouts that are optimized to render quickly. This is because it generates flat view hierarchies (read this article to review why this is important). This will really help developers create apps with complex interfaces, that get displayed quickly and without visual jank or pauses, that consume minimal memory resources. #perfmatters ;-)

This should get rid of the newbie question of “What layout should I use here” which the answer comes from experience (and failure). There is now a top level container that is designed to be the main one everyone should use always

ConstraintLayout Editor

In addition to the new layout type, there is also an all new visual editor to make creating these new layouts easy. The visual editor is intended to be the main way developers interact with their layouts. We aren’t going to cover usage of this tool in detail, because Rebecca already did a great job in this article, and there is documentation.

This is primarily designed as a visual tool, that was re-written from scratch, and is not an evolution of the existing visual editor

The new visual editor is interesting and fun to use. It consists of 3 main tools:

  • Visual Editor — shows how your UI will look on specific screens and with specific themes applied

  • Blueprint Editor — this is where people will spend most of their time, and is where a developer defines the relationship between their views

  • Properties editor — apply specific attributes to a view you have selected.

Most of the developer interaction will be done using the Blueprint view. If you have the “Autoconnect“ button enabled and drag a view (like a Button or a TextView) onto the screen, the editor will automatically create Constraints (connections to other objects or the edge of the screen). There is a nice animation displayed while the constraint is created.

It is easy to delete and re-create constraints, and there is even an “Infer Constraints” button that will guess the constraints for your entire layout. When we tried this, it worked as well as can be expected. We think developers will use this to get started then adjust the constraints to fine-tune the details.

Overall all the editor is very straightforward to use. If you are used to building UIs with RelativeLayouts, this will seem very familiar. If however, you have been nesting a lot of LinearLayouts to build complex layouts, well, shame on you, this will be a great time to learn how to build responsive layouts the right way.

Where is this all going?

It is very early days for this tool. As with all things Google we are approaching this with cautious optimism.

We welcome the day when designers can understand basic concepts of Android view layouts, and even use the tools. The possibility to export layouts from prototyping tools (like Sketch, or Adobe Illustrator) are likely to be coming (either directly from Google or from the community).

It is currently possible to import existing layouts directly into the tool. This is likely something worth doing at some point, as this should improve the overall performance of every app. At this time, we think it is wise to let this mature a bit before using this widely in production.

We were concerned about how the switch to visual oriented development will effect development workflows. For instance, how are changes to layouts tracked for code review?

The Blueprint editor shows animations when creating Constraints. They are slow, and you have until the end of the animation to stop the constraint generation. It seems like this will be tedious to watch (hopefully there is an option to turn animations off).

Conclusion

We are excited for this new UI concept, and think using ConstraintLayout will be very useful in the near future.


Android Studio is “Borked” — my checklist for fixing build issues

This article was originally posted to Medium on Jun 19, 2018 · 2 min read

asborked.jpeg

Photo by Simson Petrol on Unsplash

I recently encountered an issue, where despite my project being configured correctly (and building on my colleagues machine), I couldn’t get it working in my local environment.

I tried multiple clean builds, cloning a fresh repo, rebooting my machine, upgrading all my dependency versions, and just about everything else I could think of to solve my issue.

My issue was: the compiler would not recognize any imports from the Android Test Support libraries. I would get the error “Cannot find Symbol” for ActivityTestRule (and other essential classes). Android Studio can get into this “borked” state for a variety of reasons though.

I ended needing to clear all my system caches (I used a great script from Sebastiano Poggi), which eventually fixed my issue.

I am sharing my troubleshooting checklist in case you encounter something similar with Android Studio. Keep in mind the further down in the list you go, the more destructive the action.

  1. Make sure you have updated Android Studio, and the Gradle version in your project to the most current stable version.

  2. Backup any special environment variables or Gradle property files which your project needs/expects

  3. Clone a fresh instance of your project to a new directory

  4. Reboot Your Computer.

  5. Restart AS using the “Invalidate Cache” option
    Access this in AS from: File\”Invalidate Caches and Restart…”

  6. Clear Project Cache — there are 2 hidden directories in the main level of your project (after your first compile). Hint: on Mac type “cmd-shift-.” if you don’t see these files in your Finder window.
    Delete both the directories:
    <project home>/.idea
    <project home>/.gradle

  7. Delete the system Gradle cache:
    Delete this folder:
    /<userhome>/.gradle/caches

  8. Refresh your project dependencies manually during build
    Use a gradle command similar to :
    $gradlew assemble — — refresh-dependencies

  9. If none of these steps fix your problem, use the “Deep Clean” method . Execute this script:
    Warning, this is the last step for a reason. If you run this script, it will reset all of your Android Studio caches, and will make your future builds slower (until the caches recover).
    https://github.com/rock3r/deep-clean
    Edit: there has been an update to this script to v1.5 since this article was released!

It can be frustrating to experience Android Studio build issues. I hope these steps will help you recover quickly.

Converting your Android App to Jetpack

This Post was originally published to Medium on Nov 27, 2018 · 7 min read

Converting your Android App to Jetpack

Google has rebranded their support libraries to be named Jetpack (aka AndroidX). Developers will need to make changes to account for this.

This article will explain what this means, and how to get started converting your project to use the new components.

Jetpack to the future

What is Jetpack?

Android Jetpack is a set of libraries, tools and architectural guidance that is designed to make it easy to build Android apps. It is intended to provide common infrastructure code so the developer can focus on writing things that make an app unique.

It is a large scope effort to improve developer experience and collect useful tools and frameworks into a cohesive unit.

This quote from Alan Viverette (Android Framework team) is a good summary:

“Jetpack is a larger-scoped effort to improve developer experience, but AndroidX forms the technical foundation. From a technical perspective, it’s still the same libraries you’d have seen under Support Library and Architecture Components.”

Why?

Why is Google going through all this trouble (and creating all this trouble for developers)?

  • Create a consistent namespace (androidx.*) for the support libraries

  • Support better semantic versioning for the artifacts (starting with 1.0.0). This enables them to be updated independently.

  • Create a common umbrella to develop all support components under.

It is important to mention — this current version of AppCompat(v28.x) is the final release. The next versions of this code will use Jetpack exclusively. It is imperative that developers are aware, and make the switch early.

This quote from Alan Viverette sums this up nicely:

“There won’t be a 29.0.0, so Android Q APIs will only be in AndroidX”

What is in Jetpack?

The answer: everything.

Jetpack is a collection of many of the existing libraries we have been using forever (like AppCompat, Permissions, Notifications or Transitions) and the newer Architecture Components that were introduced in recent years (like LiveData, Room, WorkManager or ViewModel).

Developers can expect the same benefits they got from AppCompat, including backward compatibility and release cycles that aren’t dependent on manufacturer OS updates.

Jetpack Components

Do you have to upgrade now? Can you update only parts of your code?

You don’t have to update today, but you will have to update sometime in the near future.

The current version of AppCompat (v28.x) is exactly the same as AndroidX (v1.x). In fact, the AppCompat libraries are machine generated by changing maven coordinates and package names of the AndroidX codebase.

For example, the old coordinate and packages were:

implementation “com.android.support:appcompat-v7:28.0.0"import android.support.v4.widget.DrawerLayout

and are now:

implementation 'androidx.appcompat:appcompat:1.0.2'import androidx.drawerlayout.widget.DrawerLayout

It is important to note, you cannot mix AppCompat and Jetpack in the same project. You must convert everything to use Jetpack if you want to upgrade.

First Step — Upgrade your app to latest Support libs

When you are ready to update to Jetpack, make sure your app is upgraded to the latest versions of Gradle and AppCompat. This will ensure the refactor is only changing package names, and are not bigger issues related to library updates.

Updating your project is super important, and will expose any issues you will have with moving forward, such as a lingering dependency on an older version of a library. If you aren’t able to update to the latest versions, you will need to fix those issues before proceeding.

Don’t forget to check: https://maven.google.com for the latest Gradle dependency info.

Use the Refactor tool to update your Project

Once you have upgraded your project, you will use an Android Studio (AS) utility to do the refactor.

Run it from the menu: Refactor\Refactor to AndroidX:

jetpack3.png

Android Studio AndroidX refactor tool

This tool will scan your app, and show you a preview of the changes necessary:

jetppack4.png

If you are happy with the changes, select the “Do Refactor” button, and the conversion tool will do the following 3 things:

  • Update your imports to reflect the new package names:

Only the package names changed, everything else is exactly the same

  • Update the Gradle coordinates of your dependencies

jetpack6.png

Note: I replaced “compile” with “implementation” manually, the tool didn’t do that part

  • Add 2 flags to your gradle.properties file. The first flag tells the Android Plugin to use AndroidX packages instead of AppCompat, and the second flag will enable the Jetifier, which is a tool to help with using external libraries (see next section for details):

android.useAndroidX=trueandroid.enableJetifier=true

In general, the changes should be isolated to just these 3 areas, but in my experience, I have seen the refactor tool also make other changes. In my case, the tool added code to account for Kotlin Nullability (it added a few !! in my source code), but there likely will be other changes. It is a really good idea to closely monitor all the changes the tool makes, and ensure you are comfortable with them.

Jetifier

The AS refactor tool only makes changes to the source code in your project. It doesn’t make any changes to libraries or external dependencies.

For this, Google has created a tool named Jetifier that is designed to automatically convert transitive dependencies to use AndroidX libraries at build time. If we didn’t have this tool, we would need to wait for every 3rd party lib to update, before we could use it (and delay our update until this was ready).

Other than enabling this tool using the gradle flag, there isn’t much to know about using it, since this is an automated process, and no configuration is required.

Google recently announced a stand-alone option for running Jetifier. You can even run a “reverse mode” which will “de-jetify” code (which will be very useful for debugging).

Problems you may encounter

You may discover a 3rd party library that needs to be updated. For example, someone discovered the current version of SqlDelight required an old version of the Room persistence library. They requested an update, and Square has already provided the updated version of the lib. If you discover an issue, the sooner you can request an update from the developer the better. The newest version of Room (v2.1) already requires AndroidX, which likely will cause many folks to upgrade. As of this writing, the Facebook SDK is not updated, and this likely will be a blocker for many people.

Updating your project to the latest versions of AppCompat may not be trivial. You may have workarounds in your code for previous bugs or encounter upgrades that require significant re-work. Plan ahead to account for this work.

Source files are not modified by Jetifier, so this may be confusing when using documentation.

You can’t Jetify by Module, so this is an “all or nothing” operation on your codebase. This may require blocking ongoing development until this is resolved — otherwise you probably will encounter huge merge nightmares.

The mapping tool may insert alpha dependencies into your code (for example ConstraintLayout alpha is added).

Android Studio may not know about the Jetifier and display errors (red squigglies). Doing an Invalidate Cache and Restart should fix this.

Jetifier doesn’t modify generated code, which may require additional rework.

Some of the replacement names are not correctly mapped (these seem to be primarily from the design lib). The refactor tool won’t work for these cases, and your code won’t compile. To resolve these, you will need to manually resolve the imports. Hopefully, these issues will be minimized over time, as the tools mature and the bugs in the refactor tool are fixed.

Useful Hint
The standard naming convention for Jetpack is to duplicate the package name into Maven coordinates. In Jetpack, the package will always match the groupid.

For example, if you know the package name was `androidx.webkit` then the dependency will map to: `androidx.webkit:webkit:VERSION`.

Summary

Plan ahead for the changes required by the migration to Jetpack, which will be required moving forward. The hardest part of the upgrade will likely be updating your project to the latest dependencies.

There are likely 3rd party libraries that haven’t been updated yet. It is important to identify these early and ask the developer to update them.

Resources

Full mapping of the old class names to the new ones, which can be useful if you have issues with the automated refactoring, or need to figure out a specific change.

Great article from Dan Lew, highlighting his experiences (and issues encountered) refactoring his project.

Introduction to Jetpack Blog Post from Android Developers.

Thanks to Elliot Mitchell for the proof-read, and inspiration!

Phoenix Android Meetup

phxmeetup.jpeg

In coordination with the Phoenix Google Developer Group, we have started a local Android Meetup. The intention of our meetings is to get local developers together to hack, and talk about our favorite green robot, and mobile development.

It is completely informal, and people of all abilities are welcome to attend.

We had a terrific turnout at the first one, and expect this will grow into a great community event.

Event Details:

Date & Time:  4th Wed of every month (starts around 6:30p)

Location: CoHoots Coworking

RSVP and More Details: http://www.meetup.com/PHX-Android/


Android NULL Pointers (why can't people on StackOverflow read a StackTrace)

95% of the Android questions on StackOverflow can be solved by:

1.  running Logcat (adb logcat)
2.  Looking for NullPointerException (which points to the line in your code with issue).

It is amazing to me how many people actually put their logcat output into the question, when the NullPointer is so obvious.  It seems so basic to me.